Budget DIY Barn Door Checklist: Measure, Build, Install
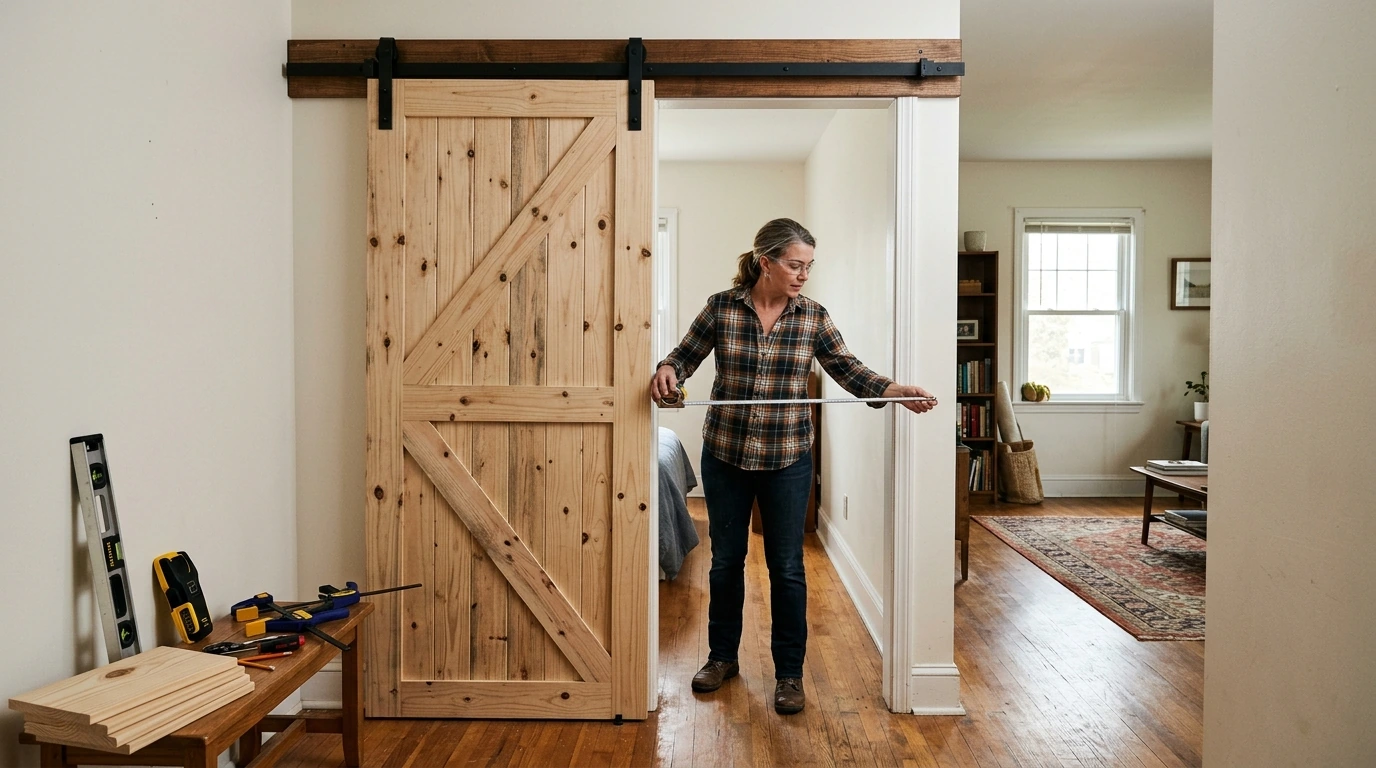
DIY Barn Door Success Checklist: Build a Stylish Sliding Door on a Budget (Without Re-Doing Steps)
A barn door can add character and save space, but the real budget-killer is rework: buying the wrong hardware length, mis-measuring door width, or discovering the wall won’t support the track after everything is stained. Our team put this plan together to keep decisions simple, prevent common mistakes, and help you end up with a clean, smooth-sliding result—without turning the project into a weekend-eating mystery.
Start with the three decisions that control cost (and prevent redo)
Most “budget” barn door builds go over budget because one early choice gets made late. Lock these in before you buy lumber or hardware.
1) Door style (controls cuts, waste, and fasteners)
Pick a style upfront: a simple slab look (fewest pieces), a plank/brace door (classic and forgiving), or a “panel” look (more cutting and layout). Once you commit, your cut list and screw count stop changing mid-project.
2) Mounting surface (controls safety and whether you need a header)
Your track has to anchor into solid structure: studs, properly installed blocking, or a secure header board. Drywall alone is not an option. Confirm stud locations and any no-go zones (electrical/plumbing) before you fall in love with a track position.
3) Door size and clearance (controls whether it actually covers the opening)
Figure out door width, height, overlap, and floor clearance first. Baseboards, trim thickness, uneven floors, and rugs all affect whether the door glides cleanly or scrapes and wobbles.
| Checkpoint | What to verify | Why it matters |
|---|---|---|
| Opening width | Measure trim-to-trim (or jamb-to-jamb) and note baseboards | Determines minimum door width and side overlap |
| Opening height | Measure from finished floor to top of opening/trim | Prevents a door that drags or leaves gaps |
| Wall structure | Locate studs; note electrical/plumbing zones | Ensures the track can be safely anchored |
| Track length | Confirm travel distance needed to clear the opening | Avoids a door that can’t open fully |
| Floor clearance | Check rug transitions, uneven floors, thresholds | Prevents scraping and binding |
Two more cost-triggers to decide early
- Hardware compatibility: The most common surprise is ordering a track that’s too short or hangers that don’t match door thickness.
- Finish plan: Stain vs. paint changes prep time and supplies. Decide before assembly so you can place fasteners and seams where they won’t show.
Tools and materials that keep a budget build smooth (not fussy)
You don’t need a full cabinet shop, but you do need dependable basics. Accurate layout is almost always cheaper than “fixing it later.”
- Measuring/layout: tape measure, level (or laser), square, pencil, stud finder
- Cutting: circular saw or miter saw; a straightedge guide helps you get clean, repeatable edges
- Assembly: drill/driver, countersink bit, clamps (clamps reduce shifting and gaps while fastening)
- Surface prep: sander (or sanding block), wood filler, clean rags/tack cloth
- Safety: eye and hearing protection; manage dust while sanding and cutting
- Hardware essentials: track, hangers, anti-jump blocks, floor guide, stops, and fasteners matched to your wall structure
If you want a quick safety refresher before you start, OSHA’s overview of hand and power tool basics is a solid reference.
OSHA: Hand and Power Tools—General Safety
Build sequence that prevents the most common barn-door headaches
The goal is to avoid discovering problems after finishing—when fixes are slow, messy, and expensive.
Step-by-step flow
- This Old House: How to Install a Barn Door
- Family Handyman: Barn Door Installation Tips
Troubleshooting in plain terms
| Problem | Likely cause | Fix to try first |
|---|---|---|
| Door rubs the floor | Door too tall, track line too low, or floor is uneven | Verify track height; adjust guide; plane/sand bottom edge if needed |
| Door wobbles at the bottom | Missing/loose floor guide or guide not centered | Re-center guide and tighten fasteners; confirm correct guide style |
| Door won’t clear the opening fully | Track too short or stops placed too early | Reposition stops; confirm travel distance; consider longer track if required |
| Track feels loose | Fasteners missed studs/blocking | Re-anchor into framing or install a properly secured header board |
| Door binds mid-slide | Track not level or hangers misaligned | Re-check level; adjust hangers and ensure wheels roll freely |
The checklist that keeps everything organized (and keeps the budget intact)
Downloads and gear we keep on hand for an easier build
- DIY Barn Door Success Checklist: Build Your Stylish Sliding Door on a Budget | Budget-Friendly Barn Door Guide PDF Download (digital download) — a ready-to-use workflow designed around the most common failure points: measurements, hardware matching, structure, and clearance.
- Waterproof Anti-Theft Laptop Backpack with USB Charging Port – Fits 15.6″ Laptop — handy if you’re carrying plans, a tablet, or a laptop between the shop and the install area and want them protected while you work.
FAQ
What’s the biggest mistake that makes a budget barn door project expensive?
Rework caused by incorrect measurements or hardware mismatch—especially track length, wall anchoring, and clearance at trim/baseboards. Verify studs or blocking and confirm door width/height math before you buy anything.
Do barn door tracks have to be installed into studs?
They must be anchored into solid structure, which can be studs or properly installed blocking/header board. Drywall alone won’t hold the load safely.
How much clearance should be left under a barn door?
Leave enough clearance to avoid rubbing on uneven floors while still keeping the floor guide engaged. Account for thresholds, rugs, and transitions, and follow the requirements of your specific guide and hardware.

















Leave a comment